Can I edit any image?
Image Edit accepts an uploaded source image within Dreamgens’ file and content requirements. Use images you own or have permission to edit, and follow the platform’s content rules.
AI image editing guide
Dreamgens Image Edit starts from an uploaded image. Write the change you want, then paint a mask over the area to guide the edit. This private feature is available on eligible plans and is not a general-purpose photo editor.
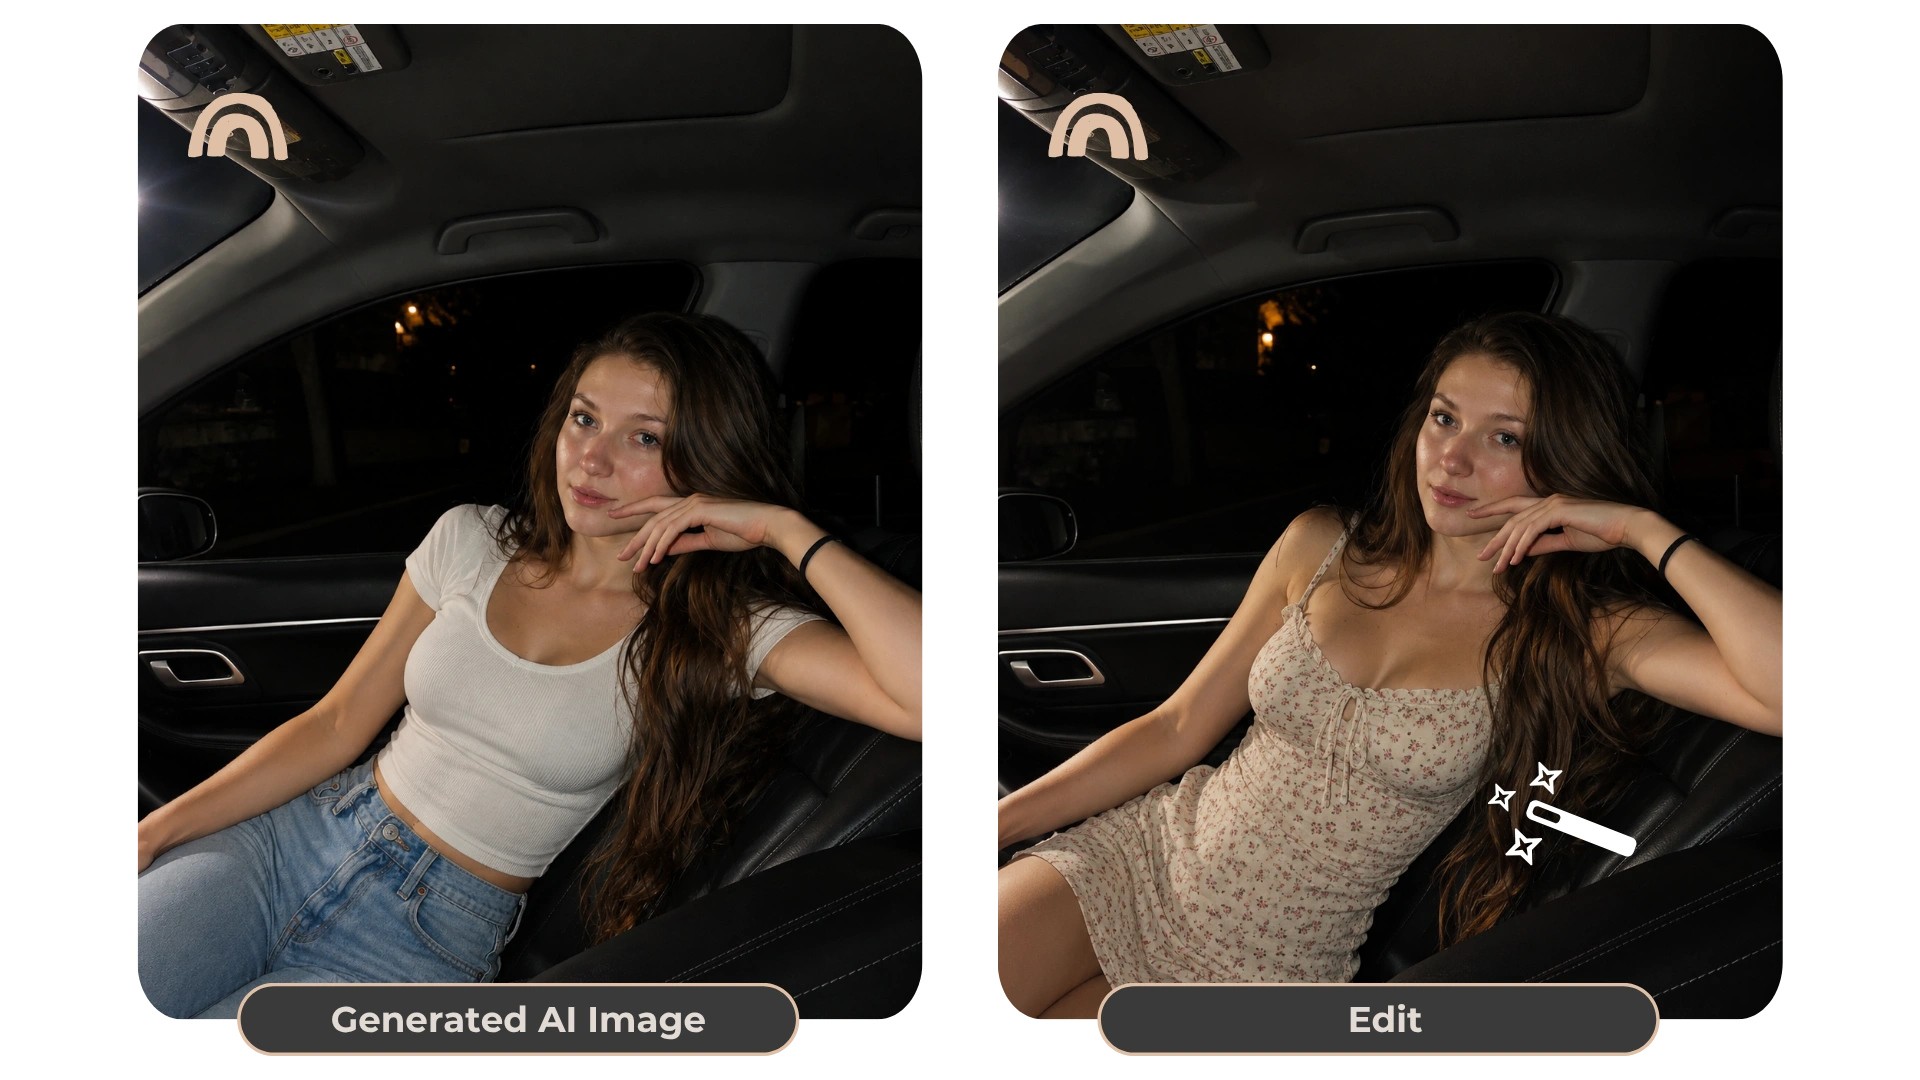
Name the object or area to adjust, the intended new appearance, and any surrounding details that should remain visually consistent. A narrow instruction such as changing one accessory is easier to evaluate than asking for several unrelated changes at once.
Upload an image you have permission to edit, then use the mask brush and eraser to mark the area. Review the mask before submitting. Mask edges and the model’s interpretation can affect the result, so make the marked area match the scope of your instruction.
Uploaded edit images and masks remain private. Image Edit outputs are blocked from Community publishing. Image Edit is a Premium feature; check the pricing page for current plan details before using it.
Image Edit accepts an uploaded source image within Dreamgens’ file and content requirements. Use images you own or have permission to edit, and follow the platform’s content rules.
The mask lets you paint the area that should guide the edit. It helps scope an instruction, but the generated result can still affect nearby details.
No. Image Edit outputs are blocked from Community publishing, and uploaded edit and mask references remain private.
Open the generator to choose a creation mode and style. Free accounts have starter Gems and feature-specific limits; see the plan details before using paid options.
Open the image generator